Viewing and Enhancing a 3D Object
Steps:
- Creating a New Illustration
- Placing a 3D Object
- Viewing the Object in the 3D View Editor
- Enhancing the Object
- Viewing the Enhanced 3D Object in Your Document
Introduction
This tutorial shows you how to place a 3D object in Canvas and enhance it using the 3D View Editor.
Step 1: Creating a New Illustration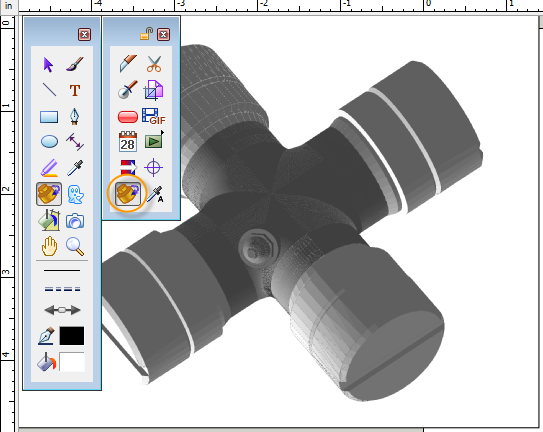
For this tutorial we'll create a new illustration document.
To create a new illustration:
- Click File | New.
- In the New Document dialog box, under Type of Document, select Illustration.
- Click OK.
Step 2: Placing a 3D Object
Next we'll place a 3D object in the illustration. For this tutorial we'll use a simple u-joint object.
If you don't have a 3D object you can use for the tutorial, try searching the Web for a free sample .DWG or .DXF file.
To place the 3D object:
- Click the 3D View tool in the Toolbox.
- Click in your document and drag the cursor to draw a bounding box for the object.
- In the AutoCAD 3D File Import dialog box, click the Browse button, select the 3D DWG or DXF file you want to place, then click Open.
- Click OK.
Step 3: Viewing the Object in the 3D View Editor
Once we've placed the 3D object in the Canvas document, we can view the object in the 3D View Editor.
To view the object in the 3D View Editor:
- Click the Selection tool in the Toolbox.
- Double-click the 3D object.

Step 4: Enhancing the 3D Object
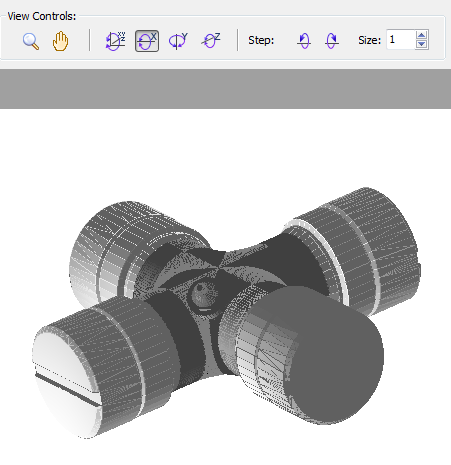
Now that we've opened the object in the 3D View Editor, we can enhance the object by rotating it, zooming in for a closer view, changing the object lighting, or seeing a wireframe view.
To rotate the object:
- In the 3D View Editor, click the Rotate around X-axis button.
- Click on the object and drag with the cursor to rotate
the object.
![]() Tip:
This is just one of many ways to rotate the object. Try using the other rotation buttons to rotate the object on all axes, the Y-axis, or the Z-axis. Or use the Step or Rotation Angle controls to rotate the object more precisely.
Tip:
This is just one of many ways to rotate the object. Try using the other rotation buttons to rotate the object on all axes, the Y-axis, or the Z-axis. Or use the Step or Rotation Angle controls to rotate the object more precisely.
To zoom in on the object:
- Click the Magnifying Glass to zoom in to 200%.
- Click the Hand tool and drag the object
to move it so you can see the relevant area.
This is a particularly useful feature if you need to present information on a single component of a more complex object.
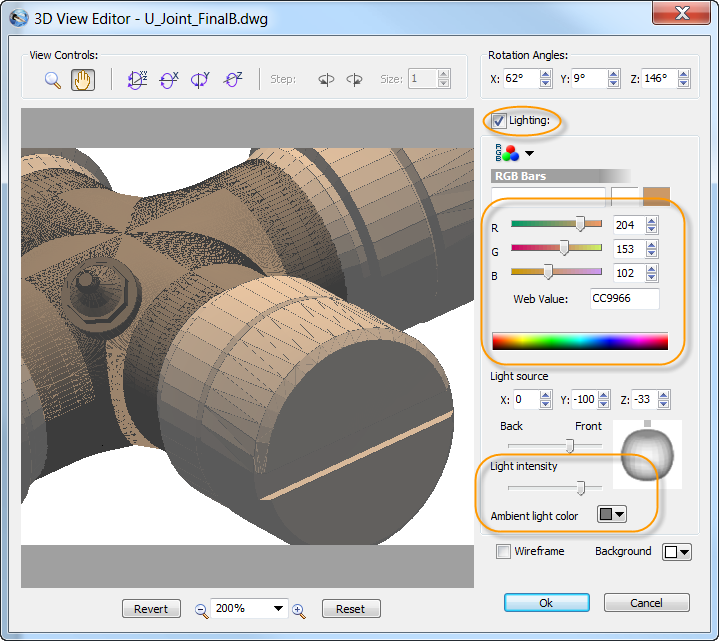
To change the object lighting:
- Click the Lighting check box.
- Drag the R, G, and B color sliders to adjust the color of the light. For this example, we've used a copper color.
- Drag the Light intensity slider to increase the amount of light on the object.
- In the Ambient light color drop-down list, select a gray ambient light.
![]() Tip:
If you'd like to see a Wireframe view of the object, click the
Wireframe check box.
Tip:
If you'd like to see a Wireframe view of the object, click the
Wireframe check box.
Step 5: Viewing the Enhanced 3D Object in Your Document
When you have finished adjusting the view of your 3D object, you can accept all the changes and return to the Canvas document to see how the object looks. At any time, you can double-click on the object to continue adjusting the view until it is just right for your project.
To update the object in your Canvas document:
- In the 3D View Editor, when you have finished adjusting
the view, click OK.
The view of the 3D object is displayed in the Canvas document precisely as it was displayed in the 3D View Editor.
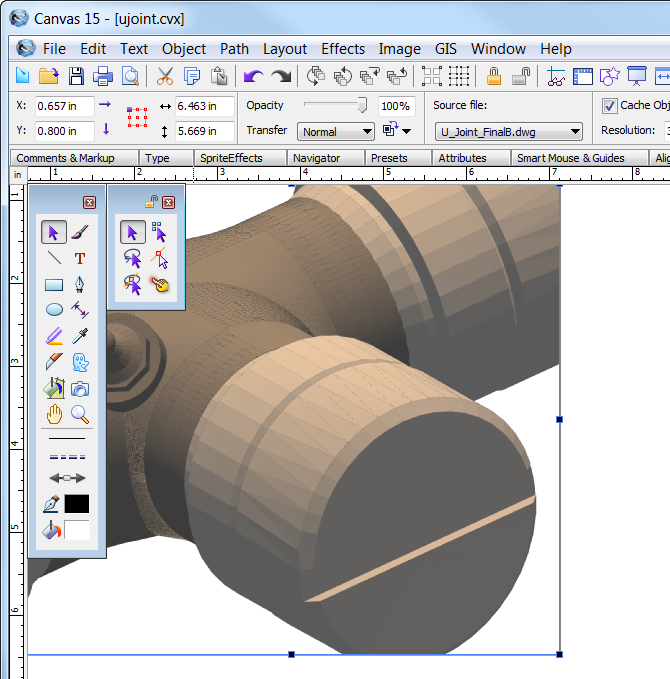
These are just some of the settings you can adjust for a 3D object. Once you've tried these basic settings, be sure to explore the other settings so that you can adjust the rotation, zoom level, and lighting appropriately for your object.